Joomla
Joomla: Your Website's Superhero

Joomla is the superhero of open-source web development, simplifying website creation and management. With a user-friendly interface, it empowers users to effortlessly add and organize content, be it articles, images, or videos. Think of Joomla as a versatile wardrobe for your website, offering various templates and themes to dress it up.
Its superpowers extend with extensions like modules, plugins, and components, allowing users to add functionality and customize their digital space. Joomla gives you the authority with user management, enabling collaboration on web projects. It's SEO-friendly, multilingual, and part of a supportive community. Whether you're starting a personal blog or a business site.
Exposed Ports
| Port Type | Port Number | Description |
|---|---|---|
| Http | 80 | Joomla exposes port 80 for HTTP. |
| Tcp | - | - |
Environment Variables
Joomla relies on several environment variables for its configuration. You can set these when running the container:
| Variable | Default | Description |
|---|---|---|
JOOMLA_DB_HOST | - | Defaults to the IP and port of the linked mysql container. |
JOOMLA_DB_USER | "root" | Defaults to "root". |
JOOMLA_DB_PASSWORD | - | Defaults to the value of the MYSQL_ROOT_PASSWORD from the linked mysql container. |
JOOMLA_DB_NAME | "joomla" | Defaults to "joomla". |
Additionally, when using a linked mysql container, you may need to set the MYSQL_ROOT_PASSWORD environment variable.
Example:
docker run -p 80:80
-e JOOMLA_DB_HOST=...
-e JOOMLA_DB_USER=...
-e JOOMLA_DB_PASSWORD=...
-e JOOMLA_DB_NAME=...
-e MYSQL_ROOT_PASSWORD=example
joomla-image:tag
Installation
| Description | Decription |
|---|---|
| Docker Image | joomla👈(click me,for the dockerhub image) |
| Application name | Eg: joomla(you can put any name) |
| Resource Allocation | 0-100%(10 % of your allocated resources (CPU, RAM) will be used for this application.) |
Protocol | |
| Http: | 80 |
| Tcp: | |
| Advanced | Install with Default |
Steps And Procedure
For Detailed steps and procedure please vist this page: Click here
Steps to connect mysql and joomla
You can check out how to configure mysql.
Here are the general steps to configure Joomla to work with a MySQL database:
- Database Setup:
- Before you start, make sure you have MySQL installed on your server and that it's running. You should also create an empty MySQL database that Joomla will use to store its data. You can do this using the MySQL client or a graphical tool like phpMyAdmin.
- Joomla Installation:
- Download the Joomla installation package from the official Joomla website.
- Upload the installation package to your web server's directory using FTP or a file manager provided by your hosting provider.
- Visit your website's URL in a web browser, and the Joomla installation process will begin. Follow the on-screen instructions, which will include entering your database information.
- Database Configuration:
- During the Joomla installation, you will need to provide the following database information:
- Database Type: Select "MySQLi" or "MySQL" as the database type, depending on your MySQL version and configuration.
- Hostname: This is usually "localhost" if your MySQL server is on the same server as your Joomla installation. If your MySQL server is on a different server, enter the server's IP address or hostname.
- Username: The MySQL username you created when setting up the database.
- Password: The password associated with the MySQL username.
- Database Name: The name of the MySQL database you created for Joomla.
- During the Joomla installation, you will need to provide the following database information:
- Table Prefix (Optional):
- Joomla allows you to set a table prefix for its database tables. This is a security measure that adds a prefix to the table names to help prevent conflicts with other applications sharing the same database.
- Site Configuration:
- Complete the remaining steps of the Joomla installation, which include configuring your site settings, creating an administrator account, and choosing a template.
- Finalize Installation:
- Once you've completed the installation, Joomla will create the necessary database tables and configure itself to work with the MySQL database you specified.
- Use Joomla:
- You can now use Joomla to create and manage your website's content through its user-friendly interface. Joomla will handle all database interactions behind the scenes.
Step-by-Step Guide to joomla Deployment
- Docker Image Selection:
- Docker Image Name:
joomla
- Docker Image Name:
- Application Details:
- Application Name:
joomla - Resource Allocation: Set the desired resource allocation from 0-100%.
- Application Name:
- Protocol Configuration:
- Protocol:
HTTP - Port:
80
- Protocol:
- Installation Options:
- Choose between "Default" or "Advanced" installation.
- Advanced Installation (Optional):
-
If selecting "Advanced," you can customize the environment variables and working directory:
-
Environment Variables:
Environment variables are dynamic values used by a containerized application for configuration. They are defined as key-value pairs, like
API_KEY=xyz, and provide flexibility to adjust an app's behavior without changing its code.- Environment Variables: Define environment variables with keys and values (e.g.,
key=value).
The following environment variables are also honored for configuring your Joomla instance:
-e JOOMLA_DB_HOST=...(defaults to the IP and port of the linkedmysqlcontainer)-e JOOMLA_DB_USER=...(defaults to "root")-e JOOMLA_DB_PASSWORD=...(defaults to the value of theMYSQL_ROOT_PASSWORDenvironment variable from the linkedmysqlcontainer)-e JOOMLA_DB_NAME=...(defaults to "joomla")
MYSQL_ROOT_PASSWORD: example - Environment Variables: Define environment variables with keys and values (e.g.,
-
Working Directory:
The working directory is the starting point inside a container where an app's files are located. It affects relative file paths and operations. For example, if set to
/usr/src/yourAPP, an app will reference files from there, like/usr/src/yourAPP/data.txt.- Working Directory: Set the working directory for the application (e.g.,
usr/src/yourAPP). - Here use ( use the path after " :" )
- Working Directory: Set the working directory for the application (e.g.,
-
- Access Configuration:
- Choose between "Public" or "Private" access to the deployed application.
- Installation:
- Click the "Install" button to initiate the deployment process.
By following these steps, you can effortlessly deploy an joomla instance with your chosen configurations. This enables you to tailor the environment to match your application's requirements and specifications. Whether opting for the default installation or delving into advanced settings, our platform ensures a seamless deployment experience while providing you the flexibility to customize according to your needs.
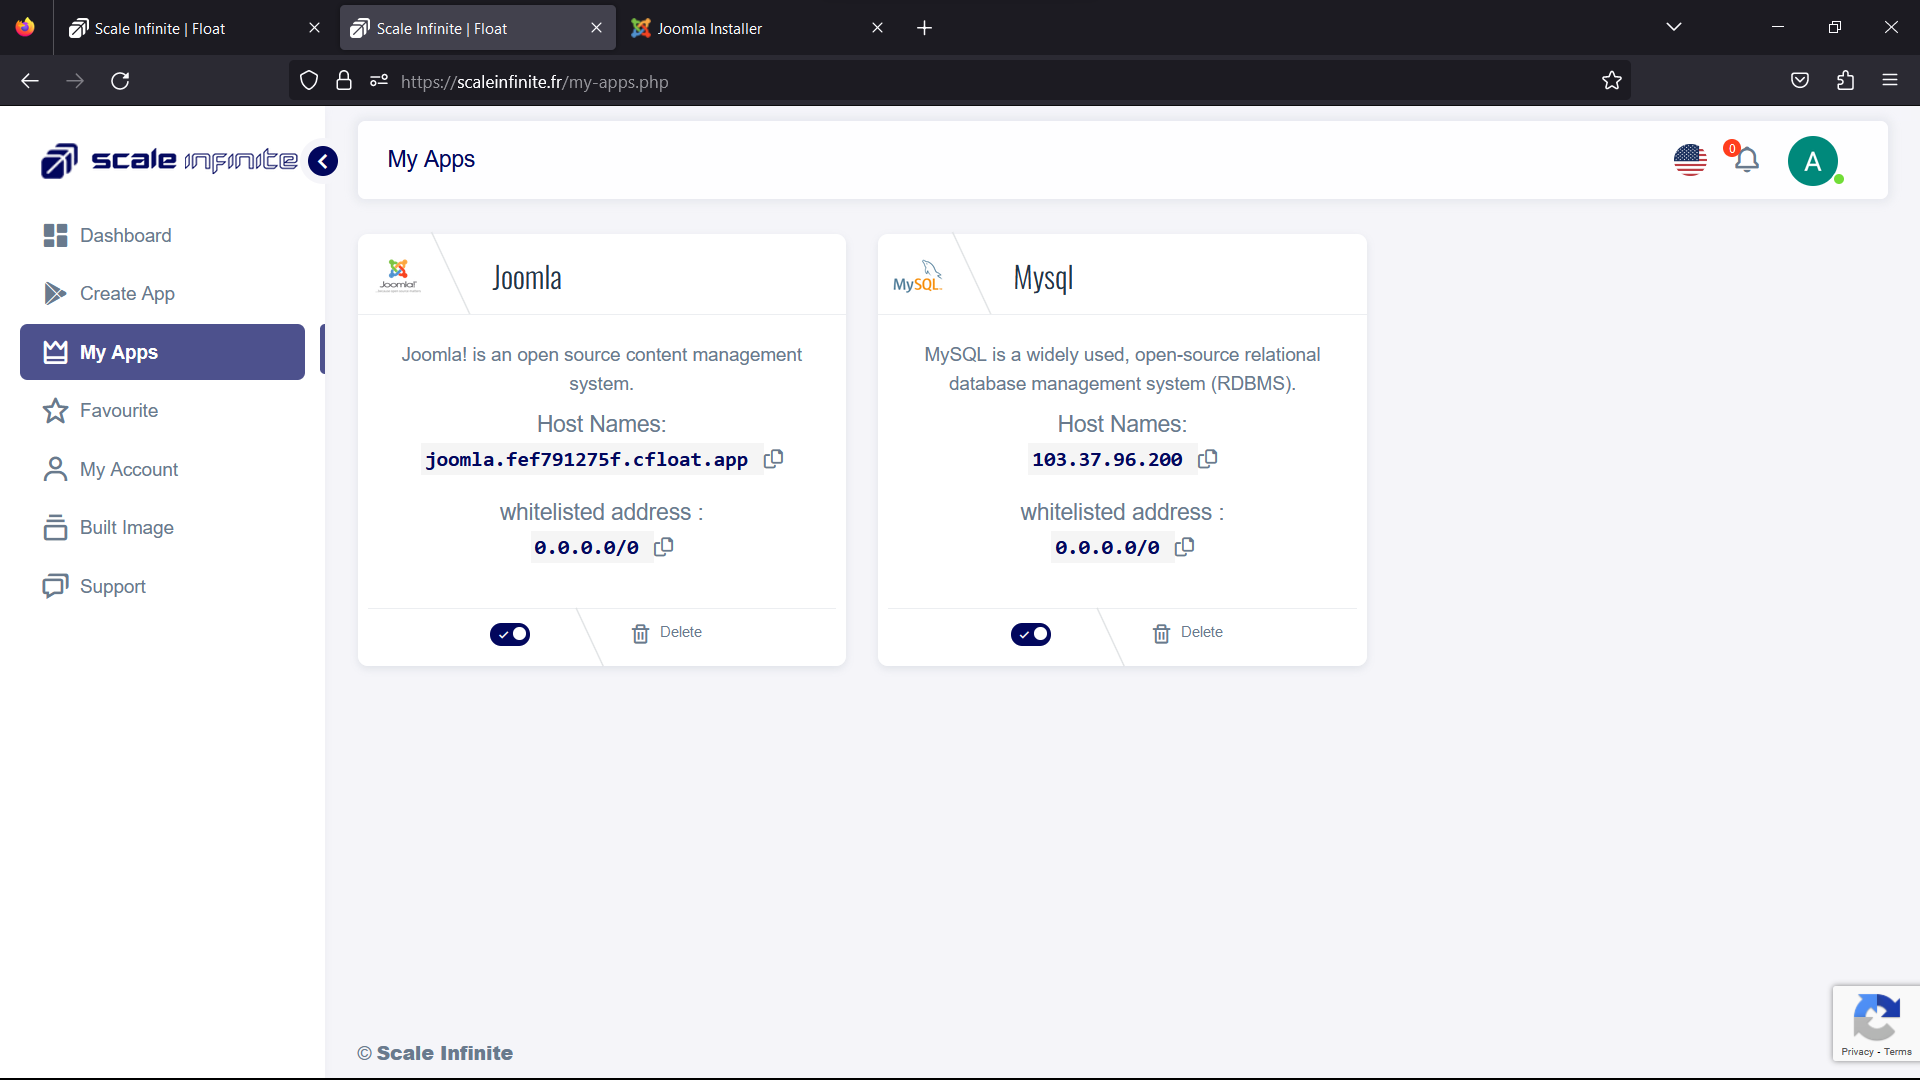
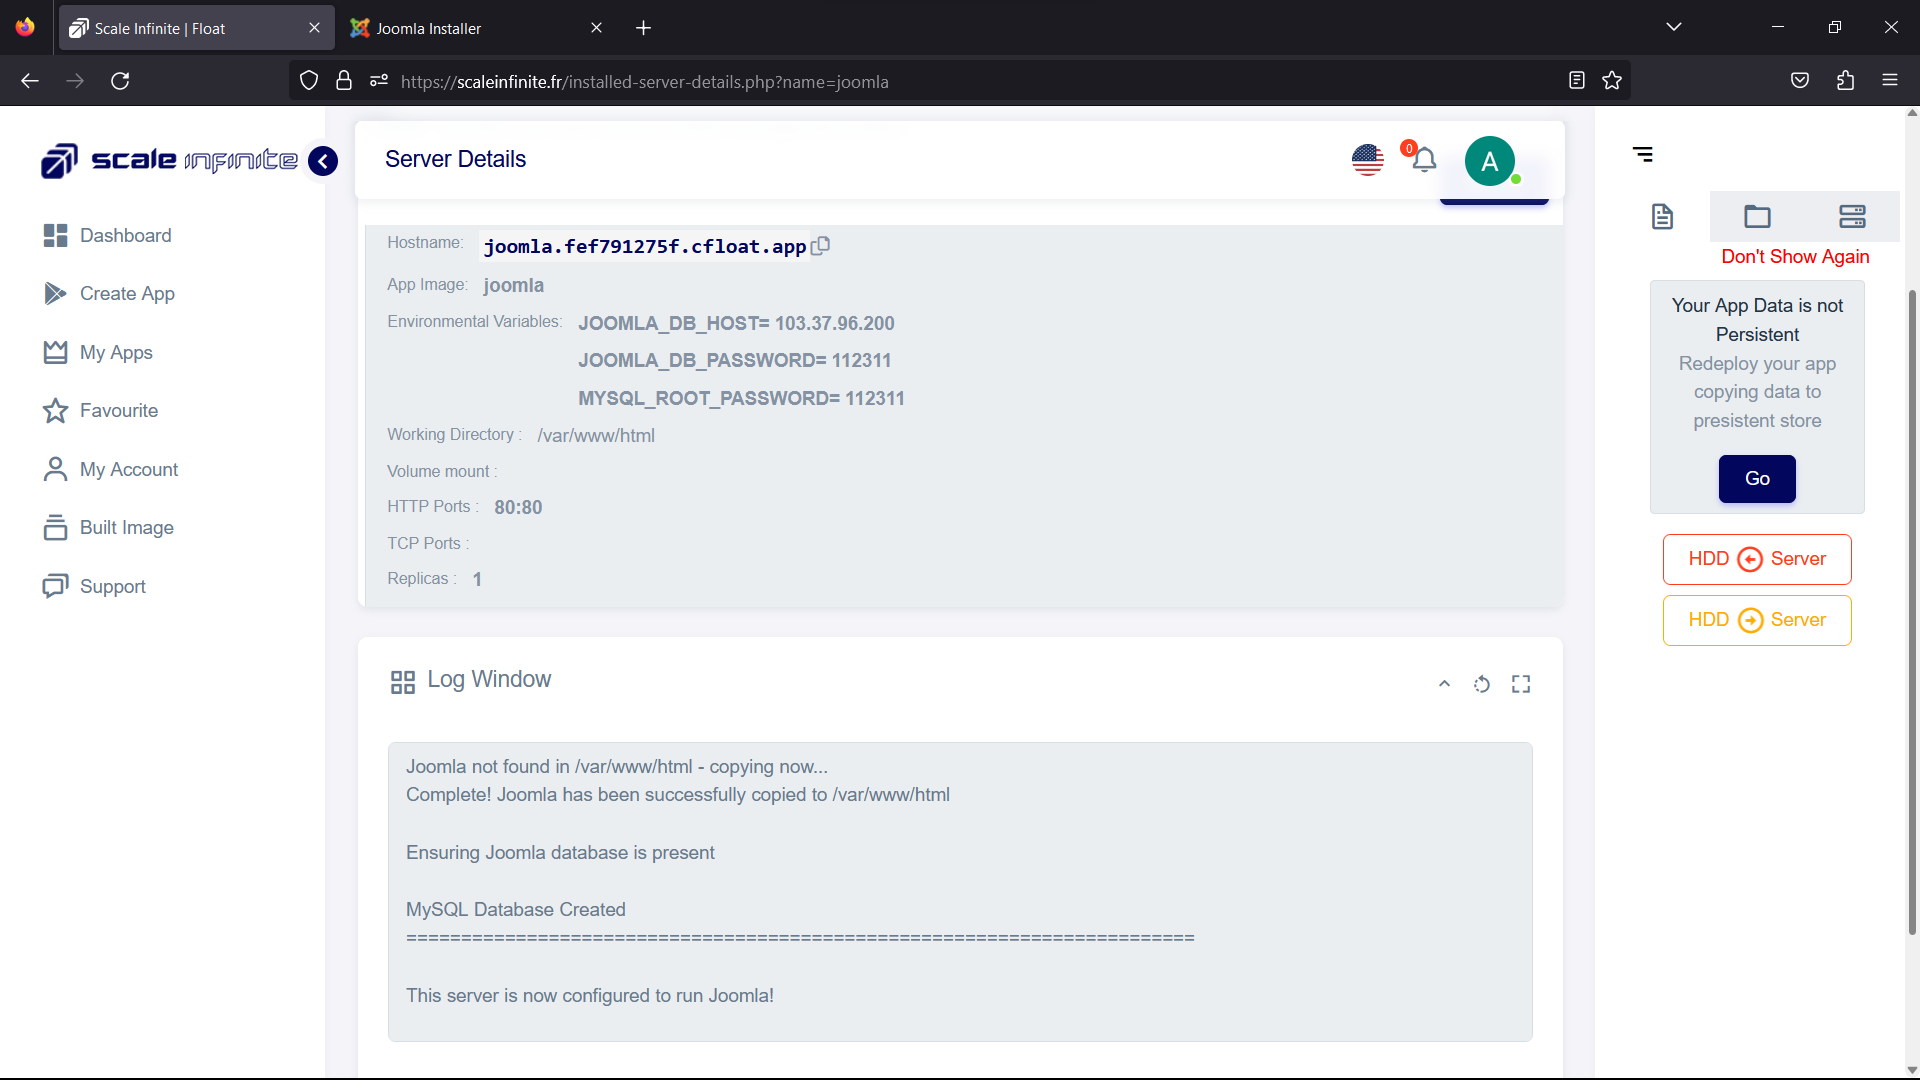
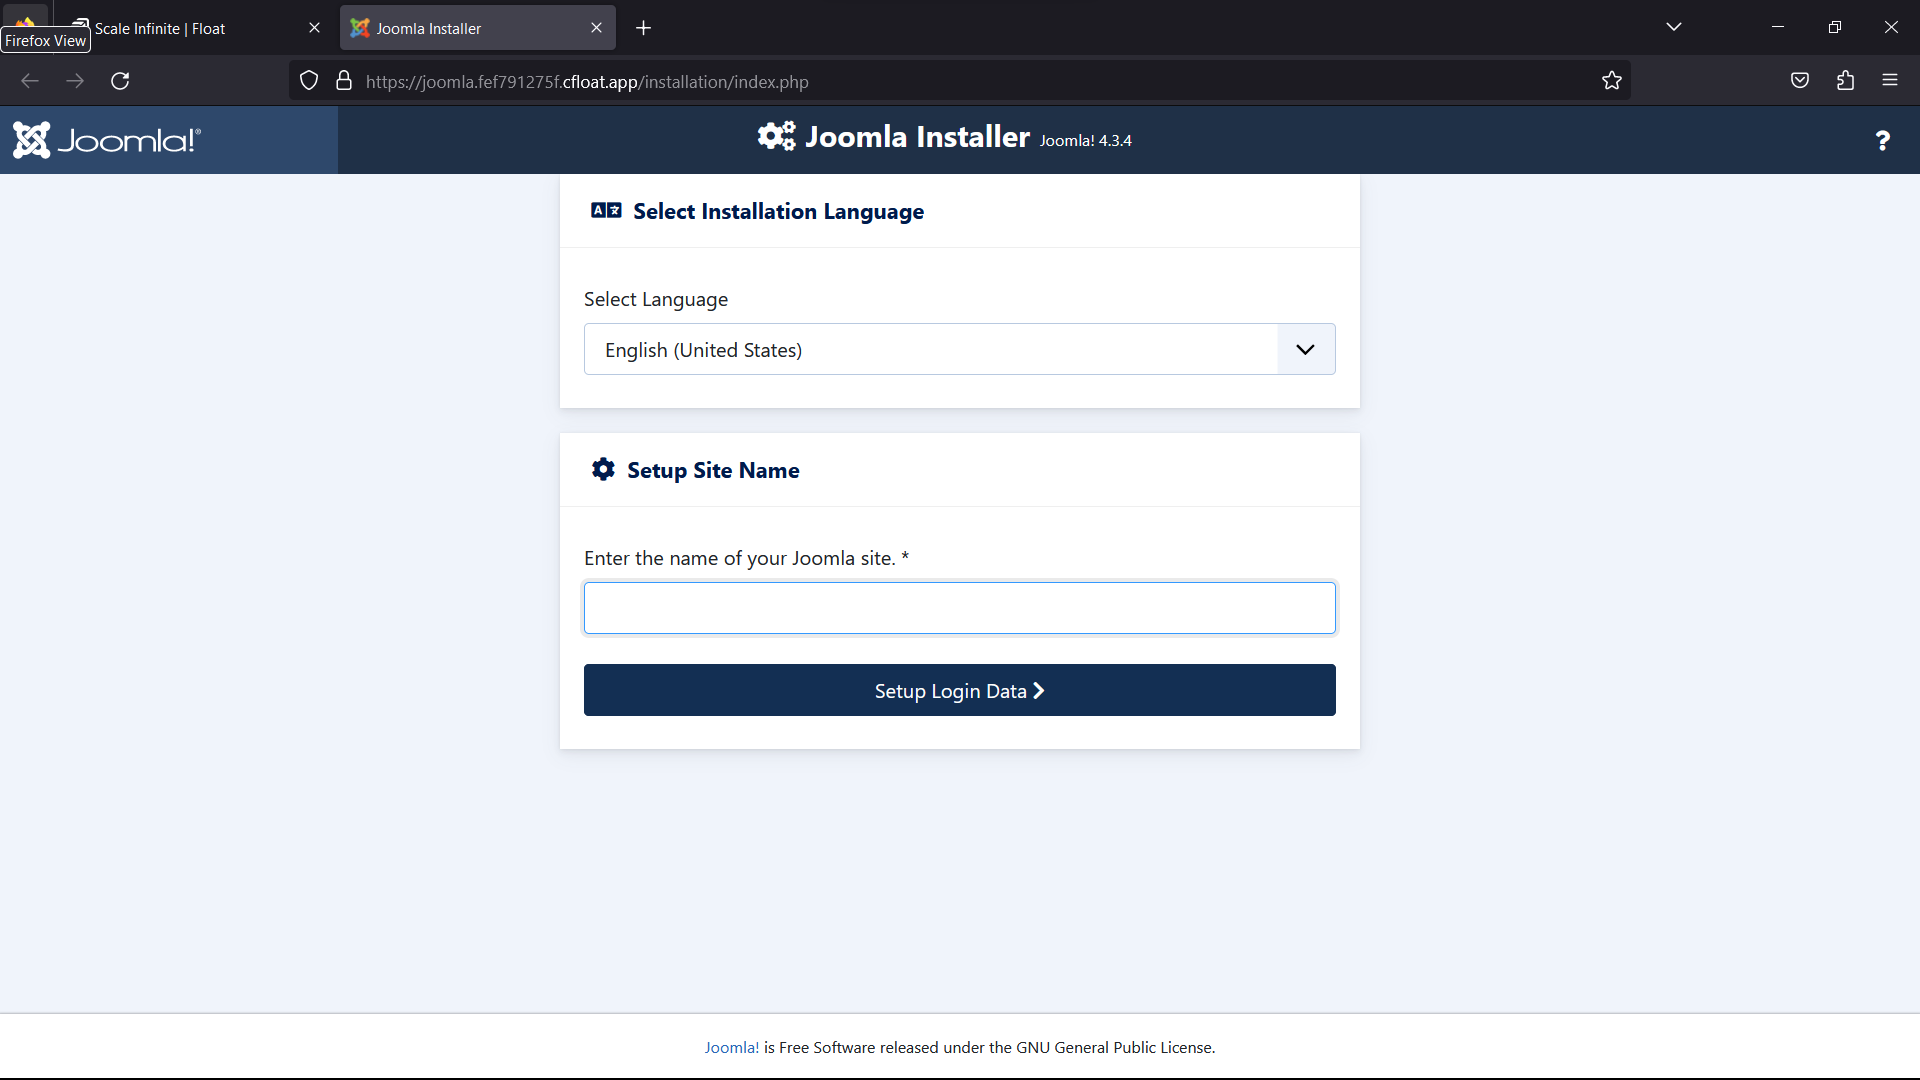
Visual Snapshots


Youtube Tutorial
Check out our youtube video for more clarification.
FAQ
For Detailed FAQ please vist this page: FAQ
Join us
Stay informed and engaged with our project's latest developments and support on Slack. Join us today to connect, collaborate, and keep the momentum going!
Category
Kubernetes, cloud computing, DevOps, cloud services, hosting platform, container orchestration, cloud infrastructure, cloud deployment, cloud management, cloud technology, cloud solutions, joomla